Kunekune Kitchen at BF Farm Kunekune Pigs
Why Kunekune Pork Cooks Differently Than Lean Store-Bought Pork
May 22, 2026 · Cooking Tips
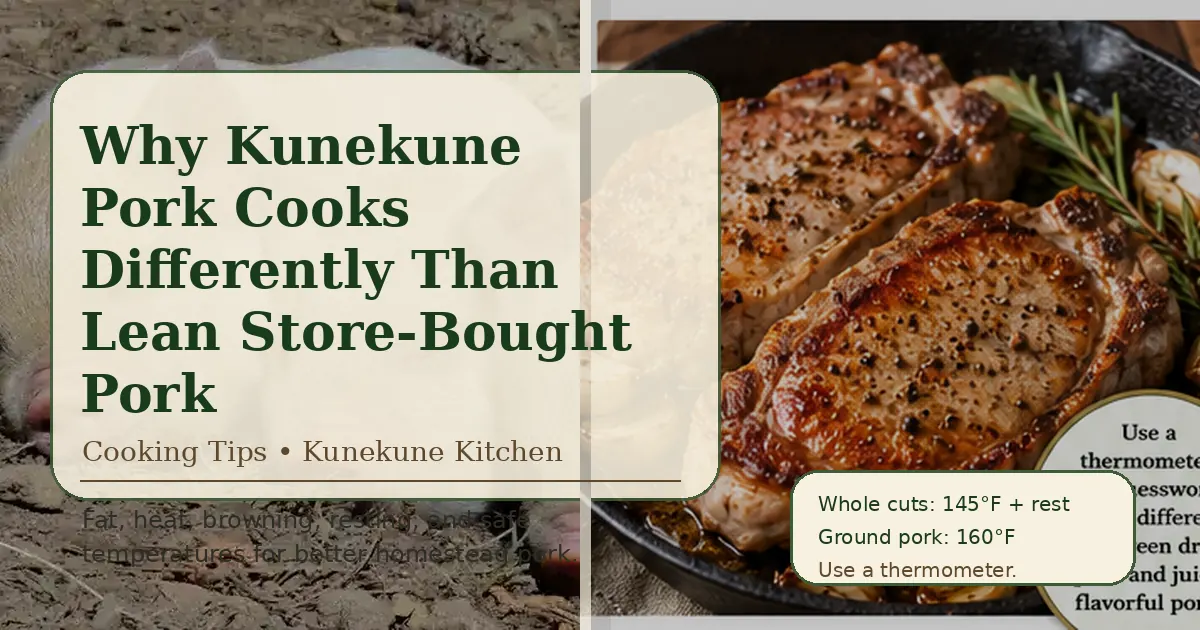
Kunekune pork does not always cook like the lean pork many folks are used to buying from the grocery store. It can be richer, more flavorful, and more forgiving in some recipes, but it also rewards a slightly different cooking approach. Once you understand how the fat, texture, and cut size affect the pan, oven, smoker, or slow cooker, Kunekune pork becomes much easier to cook well.
The Biggest Difference Is Fat
The first thing many people notice about Kunekune pork is the fat. Depending on the animal, feed, age, cut, and processing choices, Kunekune pork may have more visible fat than very lean commercial pork.
That fat is not a problem. It is one of the reasons Kunekune pork can taste so good.
Fat carries flavor. It helps meat stay tender. It browns beautifully when handled right. It can also season vegetables, beans, greens, potatoes, rice, and cabbage in the same pan.
But fat needs a little respect. If the heat is too low, it can sit in the pan and feel greasy. If the heat is too high for too long, the outside can overcook before the inside is where you want it. Good Kunekune pork cooking is often about letting the fat render, brown, and work for the dish instead of fighting against it.
Lean Grocery Pork Trained Many People to Overcook Pork
A lot of people grew up eating pork cooked until it was dry, pale, and firm all the way through. That habit came from older food-safety fears and from the way pork used to be talked about in home kitchens.
Today, the better habit is to use a meat thermometer instead of guessing by color, firmness, or old family rules. FoodSafety.gov lists pork steaks, roasts, and chops at 145°F with a 3-minute rest, while ground pork and sausage should reach 160°F.
That difference matters. A pork chop and a pound of ground pork are not the same food-safety situation. Whole cuts mainly have surface exposure. Ground pork has been mixed throughout, so it needs the higher temperature.
Why a Thermometer Belongs in the Farm Kitchen
A thermometer is not fancy. It is practical.
When you raise your own meat, buy from a local farm, or fill a freezer with pork, you want to use that meat well. Guessing can waste good pork. Cutting into every chop to check the center lets juices run out. Cooking everything until it is definitely done can turn good meat into dry meat.
A simple instant-read thermometer helps you know:
- when chops are done without overcooking
- when roasts are safe but still juicy
- when ground pork is fully cooked
- when leftovers are hot enough
- when smoked or slow-cooked cuts are tender enough for pulling
For tender whole cuts like chops, loin, and tenderloin, temperature tells you when to stop. For tougher cuts like shoulder, hocks, ribs, and shanks, temperature is only part of the story. Those cuts often need time for connective tissue to soften, so tenderness matters too.
Do Not Treat Every Cut the Same
Kunekune pork can come from a small homestead hog, a larger meat animal, or breeding stock processed later in life. Cuts can vary. That is normal.
The biggest mistake is using one cooking method for everything.
Tender cuts need a quicker hand. Tougher cuts need time. Fatty cuts need rendering. Ground pork needs thorough cooking. Bones, skin, and trim need a different plan than chops or roasts.
A basic guide:
- Pork chops: sear, roast, grill, or pan-cook; avoid overcooking.
- Tenderloin or loin: cook gently and do not dry it out.
- Shoulder: slow roast, smoke, braise, stew, or grind.
- Belly: render, cure, smoke, braise, roast, or crisp.
- Hocks and shanks: simmer, braise, smoke, or use for beans and broth.
- Bones: roast or simmer for broth.
- Trim and fat: grind, render, season beans, or make sausage.
- Ground pork: skillet meals, meatballs, sausage, burgers, soups, and casseroles.
That is one reason Kunekune Kitchen needs more than recipe posts. A good pork recipe starts with knowing what the cut wants to become.
Browning Matters More Than You Think
Good browning is one of the simplest ways to make pork taste better.
When pork browns well, the flavor gets deeper. The outside develops color. The pan collects browned bits that can season vegetables, gravy, beans, broth, or sauce. This is especially useful with Kunekune pork because the rendered fat helps carry that flavor through the dish.
For better browning:
- Pat chops or roasts dry before searing.
- Do not crowd the pan.
- Let the pan heat before adding pork.
- Give the meat time to sit before flipping.
- Use medium-high heat for searing, then lower the heat if needed.
- Brown ground pork in batches if the pan is small.
- Drain excess fat only if needed, not automatically.
If the pan is crowded, pork steams instead of browns. If the surface is wet, the moisture has to cook off before browning can happen. If you stir ground pork constantly, it may turn gray instead of developing flavor.
Let the Fat Render
Rendering means gently cooking fat until some of it melts out and becomes useful cooking fat.
With Kunekune pork, this can be a beautiful thing. Rendered pork fat can help cook onions, cabbage, greens, potatoes, beans, apples, squash, and skillet vegetables. It can make a simple dish taste like it cooked longer than it did.
For cuts with a fat cap, start with steady heat rather than panic-high heat. Let the fat warm and soften. If roasting, you can score the fat lightly so it renders better. If pan-cooking thick chops, start with a good sear and then finish more gently.
For ground pork, let it cook undisturbed for short stretches before breaking it up too much. That allows browning and rendering to happen together.
If there is more fat than your dish needs, spoon some off and save it for cooking vegetables or beans. Do not feel like you have to throw it away. Good pork fat is a kitchen ingredient.
Salt Earlier When You Can
Salt is not just about making meat taste salty. It helps season the meat more evenly and can improve texture.
For chops, roasts, and thicker cuts, salting ahead of time is helpful. Even 30 minutes can make a difference. A few hours is better when time allows. For larger roasts, seasoning the day before can help the flavor settle in.
For ground pork, seasoning depends on the recipe. If you are making meatballs, sausage patties, burgers, or dumpling-style fillings, mix seasoning evenly but do not overwork the meat. Overmixing can make ground pork dense.
A simple starting point for plain pork is salt, black pepper, garlic, and a little onion. From there, you can move toward smoke, herbs, mustard, brown sugar, vinegar, chili, sage, ginger, or paprika depending on the meal.
Resting Is Not Just Restaurant Talk
Resting meat means letting it sit after cooking and before slicing.
This matters because hot meat releases more juice when cut immediately. A short rest gives the juices time to settle and helps the temperature even out.
For pork chops, loin, tenderloin, and roasts, resting is worth doing. A thin chop may only need a few minutes. A larger roast may need longer.
For ground pork in a skillet, resting is not the same concern. Ground pork should be cooked through, then served or held safely.
For smoked shoulder, braised hocks, or slow-cooked roasts, resting can make shredding easier and help the meat stay moist.
Do Not Fear a Little Pink in Whole Cuts
Many people still think any pink in pork means it is unsafe. That is not the best guide.
Color can be misleading. Some pork may remain slightly pink even when it has reached a safe temperature. Some pork can look pale but still not be cooked correctly. Thermometer first, color second. For whole cuts like chops, loin, tenderloin, and roasts, use the safe internal temperature guidance and rest time. For ground pork, cook to 160°F. That is the clearer, safer way to handle pork in a home kitchen.
Watch Carryover Cooking
Carryover cooking means meat continues to rise in temperature after it comes off the heat.
This is especially important with chops, loin, and tenderloin. If you cook a chop all the way to your final target while it is still in the pan, it may climb higher while resting and end up drier than you wanted.
Thick cuts, hot pans, cast iron, grills, and roasts can all hold heat. That heat keeps moving inward after the pork leaves the burner or oven.
This does not mean undercook the meat. It means pay attention, use a thermometer, and learn how your pan and oven behave.
Match the Heat to the Cut
Kunekune pork can handle rich, old-fashioned cooking, but that does not mean every cut wants low and slow.
Use higher heat for:
- quick browning
- thin chops
- ground pork skillet meals
- crispy belly pieces
- finishing roasted fat
- stir-fry style meals
Use lower, slower heat for:
- shoulder
- hocks
- shanks
- ribs
- belly braises
- bone-in roasts
- beans with smoked pork
- broth and stock
Use mixed heat for:
- thick chops
- roasts with fat caps
- pan-seared then oven-finished cuts
- smoked cuts finished in a covered pan
- crispy-fat roasts
The goal is not to memorize rules. The goal is to ask, Is this cut tender already, or does it need time?
A Little Acid Helps Rich Pork
Because Kunekune pork can be rich, a little brightness helps balance it.
That does not mean every recipe needs to taste sour. It means vinegar, citrus, mustard, tomatoes, pickles, sauerkraut, apples, slaw, or fermented vegetables can make pork taste lively instead of heavy.
Good pairings include:
- pork shoulder with vinegar slaw
- belly with apples or pickled onions
- chops with mustard pan sauce
- ground pork with rice vinegar and cabbage
- smoked pork with beans and a splash of vinegar
- sausage with kraut or garden peppers
- roasted pork with cider or apples
Fat gives flavor. Acid gives balance. Together they make a better plate.
Do Not Throw Away the Pan Flavor
After browning pork, the pan often has little browned bits stuck to the bottom. That is flavor.
You can use it by adding:
- onions
- broth
- cider
- vinegar
- wine if you cook with it
- water
- tomatoes
- beans
- cabbage
- greens
Scrape the pan gently as the liquid loosens the browned bits. This makes simple sauces, gravies, skillet vegetables, soups, and braises taste better.
With Kunekune pork, this is one of the easiest ways to stretch flavor through a whole meal.
Ground Kunekune Pork Needs Its Own Approach
Ground pork is one of the most useful freezer packages on a homestead. It can become breakfast, supper, soup, sausage, meatballs, burgers, dumplings, casseroles, skillet meals, or rice bowls.
But ground pork should not be treated exactly like a chop.
First, cook it to 160°F. Second, give it enough pan space to brown. Third, season it well because ground meat has more surface area and can carry flavor beautifully.
For better ground pork:
- use a wide skillet
- brown before adding watery vegetables
- season in layers
- drain only excess fat
- add aromatics after some browning
- cook cabbage, onions, or peppers in the pork flavor
- taste before serving and adjust salt, acid, and heat
A pound of ground Kunekune pork can make a lot of practical meals when you know how to build around it.
Slow Cooking Is Useful, But Not Magic
Slow cookers and braising pots are excellent for the right cuts. Shoulder, hocks, shanks, ribs, neck bones, and tougher roasts can become tender and flavorful with time.
But slow cooking is not the best method for every piece of pork.
A lean loin can dry out in a slow cooker. A tender chop can become firm and dull. Ground pork can turn soft or greasy if it is not browned first.
For best results:
- brown pork before slow cooking when possible
- use enough liquid but do not drown the meat
- choose collagen-rich cuts for long cooking
- save tender cuts for quicker methods
- skim excess fat if the finished dish needs it
- brighten rich slow-cooked pork with vinegar, mustard, slaw, herbs, or pickles
Slow cooking should make a cut better, not just easier.
Smoking Kunekune Pork
Kunekune pork can be excellent in the smoker because fat and smoke work well together. Shoulder, ribs, belly, hocks, and sausage-style preparations are natural fits.
But smoking needs care. Smoke is flavor, not a substitute for safe handling or proper temperature. Curing is its own subject and should be done with tested methods, accurate measurements, and good sanitation.
For basic hot smoking:
- keep raw pork cold until cooking
- season ahead when useful
- use a thermometer
- cook to safe temperatures
- allow tough cuts enough time to become tender
- rest larger cuts before slicing or pulling
For cured meats like bacon or ham, use reliable tested curing instructions. Do not guess on curing salts, times, or storage.
Using the Whole Animal Well
One of the best reasons to learn Kunekune pork cooking is whole-animal usefulness.
If a family raises a hog or buys a half or whole pork share, they do not just get chops and bacon. They get roasts, ground pork, bones, trim, fat, hocks, ribs, shoulder, and sometimes cuts they are less familiar with.
Knowing how Kunekune pork cooks helps prevent waste.
Bones can become broth. Fat can become lard. Trim can become sausage. Hocks can season beans. Shoulder can feed a crowd. Ground pork can make quick meals. Belly can be cured, smoked, braised, or roasted. Chops can be cooked gently instead of dried out.
That kind of kitchen knowledge makes the freezer more useful.
Common Mistakes When Cooking Kunekune Pork
The first mistake is overcooking tender cuts. Chops, loin, and tenderloin need attention. Do not walk away and hope for the best.
The second mistake is under-rendering fat. Give fatty cuts time and the right heat so the fat becomes part of the meal instead of sitting heavy.
The third mistake is crowding the pan. Crowding causes steaming, and steaming prevents browning.
The fourth mistake is draining all the fat automatically. Remove excess if needed, but leave enough to cook vegetables and carry flavor.
The fifth mistake is skipping the rest. Resting helps whole cuts hold moisture.
The sixth mistake is treating all pork the same. A chop, shoulder, hock, belly, and ground pork all need different handling.
The seventh mistake is guessing on temperature. A thermometer is cheaper than wasted meat.
A Simple Kunekune Pork Cooking Checklist
Before cooking, ask:
- What cut am I using?
- Is it tender or tough?
- Is it lean, fatty, bone-in, or ground?
- Should I cook it fast, slow, or both?
- Does it need browning?
- Does it need a thermometer?
- Does it need rest time?
- Would acid or fresh vegetables balance the richness?
- Can I use the rendered fat for the rest of the meal?
That little pause can save a lot of disappointment.
How This Connects Back to the Herd
Good cooking starts before the kitchen. It starts with the animal, the breeding choices, the feeding, the management, the processing plan, and the way the meat is cut and packaged.
BF Farm Kunekune Pigs focuses on quality Kunekune breeder stock for families and homesteads that care about manageability, temperament, structure, and long-term usefulness. Kitchen results are part of that bigger picture. A good homestead pig should not only be pleasant to raise. It should also help fill the freezer with pork a family knows how to use.
That is why cooking knowledge matters. The better a family understands the meat, the more value they get from every package.
Final Thoughts
Kunekune pork can be rich, flavorful, and deeply useful in a homestead kitchen, but it deserves to be cooked with intention. Let the fat work for you. Brown the meat well. Use a thermometer. Rest whole cuts. Cook ground pork thoroughly. Match the cooking method to the cut.
Once those habits become familiar, Kunekune pork stops feeling different in a confusing way and starts feeling different in the best way: flavorful, practical, and worth learning.